This is it! It’s a brand new year. This is the year you will finally accomplish your resolutions. This is the year you will break out of the loop.
This is the year…
Oh, who are we kidding? That’s what we said last year. We all know we’re going to fail. We’re going to mess things up, do things wrong, become overwhelmed, and quit. Circumstances will change. We will change.
But maybe that’s because you’re approaching this whole thing with the wrong mindset. Maybe you need to take a step back and think outside the box.
Maybe, instead of treating everything like it needs to be brand new from the get-go, you should look at your life and see how you can change old things into new things that fit for your life, right now.
I’m going to tell you a story.
In all honestly, this is “How to Build a New Table Out Of An Old Bed”, but what you should really be doing is reading between the lines. What is something useless (or old or uninteresting or happenstance) in your life that, tweaked the right way, could become something really great?
This could literally mean recycling old things and turning it into new things, following recommendations and different design ideas (the kind of Allen Roth gazebo comparisons, among others) – in this story, furniture.
It could also mean taking existing activities, time spent, frequently visited locations, current friends… and reviving the value you get from them by experiencing them under a new light.
At any rate: Here’s how I invented a BBQ prep table using old pieces of bed.
Step One: The Materials & The Vision
To do that, you’re going to have to search.
I’ve been itching for a good DIY project ever since I met Kat in Wichita last year. (She does amazing stuff and takes neat photos.) So, I’ve been on the search for quite a while.
Finally, yesterday I had not only the motive, but the time and opportunity.
My mom’s house is full of things that are begging to be gotten rid of. I had the whole day to dedicate to a fun project. I scoured the garage for interesting things, waiting for the right inspiration to strike.
After eyeing it about a hundred times, I suddenly saw the headboard out by the trash cans – no longer as a headboard, but as the top of a prep table.
(Back story: I cook BBQ at my mom’s house almost every weekend. I’m constantly juggling all of my prep items in the process. Having a table dedicated for it would fit the bill perfectly.)
I knew I’d have to find legs and a way to turn it into a real table top, but I was less concerned with that. I had my idea.
Review:
- You do not need to know what your new thing will be when you get started
- Scour your existing materials
- Even if you don’t know whether you have all the pieces, if something feels right… go with it!
Step Two: Collecting & Preparing Materials
What did I need?
- Hammer
- Variety of nails
- Measuring tape
- A pen (for marking measurements)
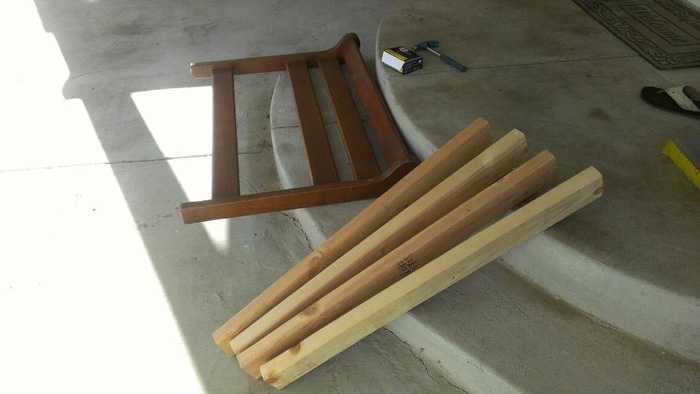
- Wood for the legs of my table
Hammer and nails were easy enough to find. I’d seen random pieces of wood laying around the garage, but I had to pull my step-dad, Jason, out to ask him what else was usable.
Jason pointed out a a few lengths of 2×4. “I can always cut those for you, if you’d like,” he offered. I told him I would probably take him up on that.
I measured the shortest 2×4. It was just about 6′ long. I decided my table would be 3′ tall.
My beginning materials were ready.
Review:
- Figure out the materials you need to take the first steps
- Discover and make any modifications you need to existing materials
- Collect everything together
Step Three: Get it started.
All I needed to do was start hammering the legs to the top of my table. There were some judgement calls to make now.
Should I make them face front or sideways? Which way will hold best? Which will look best?
After some misdirection, a few bent nails and interesting choices, I had a very wobbly table-like thing put together. It turned out that my initial vision wasn’t going to be enough to be the finished product.
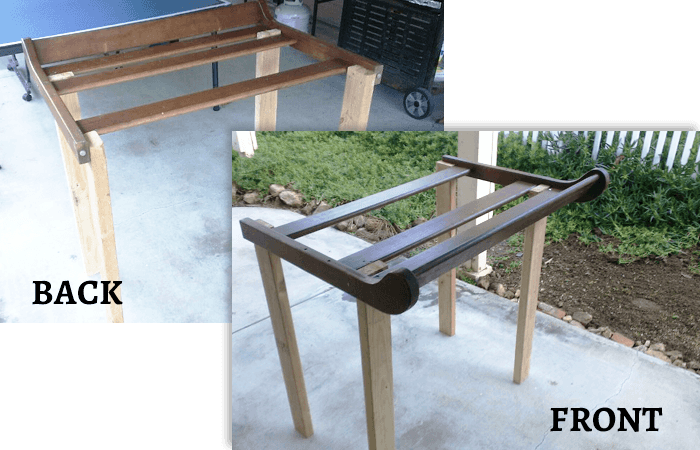
It needed some adjustments.
Review:
- Put together your project
- Be ready to make judgement calls and changes as you work
- Look for what should be added or changed in the next step
Step Four: Adjust your original plan.
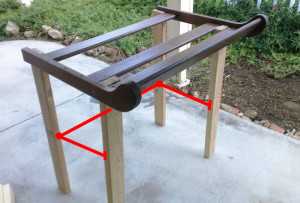
As Jason began making the final cuts, I realized I hadn’t considered what I would use for the table-top itself. Sure, the framework was there, but it needed a large flat surface to put things on.
I remembered a set of wooden slats and checked their length. If I had 7-8 of them laid side by side, they would work perfectly.
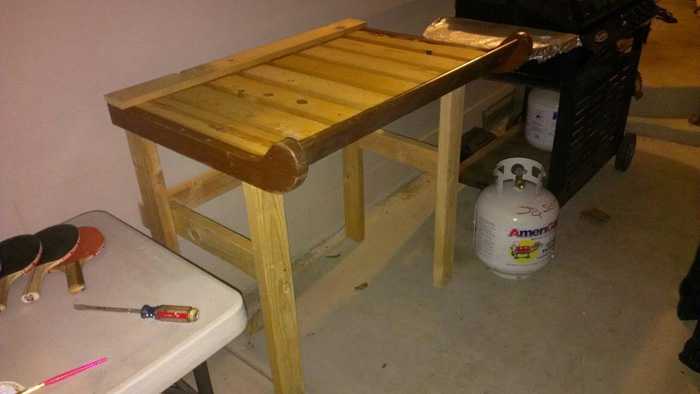
I raced to measure them before Jason was finished, so it could all get done at once. In the blink of an eye, I had new bracing and the makings for my tabletop ready to go.
All I needed was to put it all together.
Review:
- Reevaluate your plans
- Gather new materials
- Take the steps to adjust the project
Step Five: The final touches.
What’s the final step to make everything feel like it was planned that way? Once everything is in place, there’s always that final touch that makes it feel official.
In my case, I knew this would be to paint or stain my new table. I’d seen lots of old stain cans sitting in the paint cupboard. Since this would be for use in BBQ, it should have a fun, rustic feel to it. I decided staining would work perfectly.
Now, you’ll note that I needed a few more materials for this.
- Sandpaper to remove some of the old stain
- Stain gel
- Brush for application
- Screwdriver to open the can
At first, I wanted to remove all of the stain from the headboard, but even with an electric sander I could tell it would take way too long for my waning patience and tired arms.
Since rustic was what I wanted to begin with, I decided leaving some of the old, dark stain would work just fine.
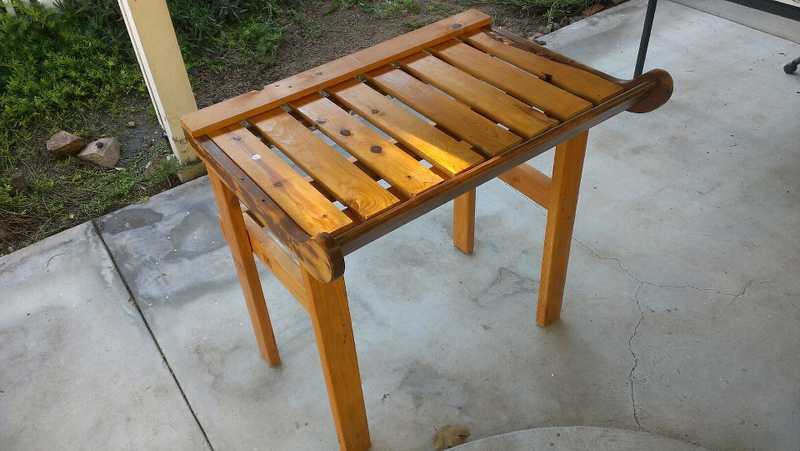
I think it turned out pretty well.
So, what can you repurpose?
It’s your turn now.
What can you take old, and turn into something new? Or a fan of modernizing your interior design with some brand new pieces – view more of furniture I’d like to “create” or buy now.